Thursday, February 19, 2015

Study of Eric Carle

I've been looking forward to doing a study of Eric Carle for a while and was just waiting for the right lesson to come to me.  I have a huge roll of window cling that I got from the recycle center and have used on several occasions.  This seemed like a fun and new way to use it. 
For the Preschool and Pre-K classes, I offered them a variety of images from books illustrated by Carle.  I placed the image under a piece of clear window cling.  The children used activity paint to paint on top of the image. (I found that tempera paint does not work on the plastic.  When it dries, it flakes off.  Activity and finger paint work best.)   Some took the image literally and painted what they saw while others used the image as an inspiration and created their own beautiful art.  As this was an open ended project, there was very little direction given on what they were to do.  I was interested to see what they would come up with.   
When the pictures dried, we hung them in the art studio and in the classroom windows.  They make beautiful window art pieces.  They are all unique and super colorful!

I also did this project with the toddlers which ended up being an abstract project but very fun nonetheless.  The toddlers enjoyed painting on a new surface and color mixing as they went. 

Saturday, December 20, 2014

Light Table Activities

Here's what was on the light table in the art room:
transparent shapes and art patterns from Mr. Printables

Fun, colorful materials to sort, stack, and explore

plexiglass samples

transparent shapes and letters

stencils

shapes and colors

cardboard stackers

plastic melted bead shapes and letters

Sunday, November 2, 2014

Infant Activities

Infant art is all about the senses.  At this age, they are exploring with all of their senses.  I look at art class for infants as a way to allow them to explore in their own way. As they become more comfortable with materials, the infants and young toddlers aren't afraid to touch things that are messy, sticky, or cold because they've been exposed many times in different ways and at their own pace. 
Small trinkets in bubble wrap on the light table

Sticky, shiny paper and textured paper squares

Paint in between contact paper

Unflavored gelatin

Random art materials gathered together

Corn starch paint

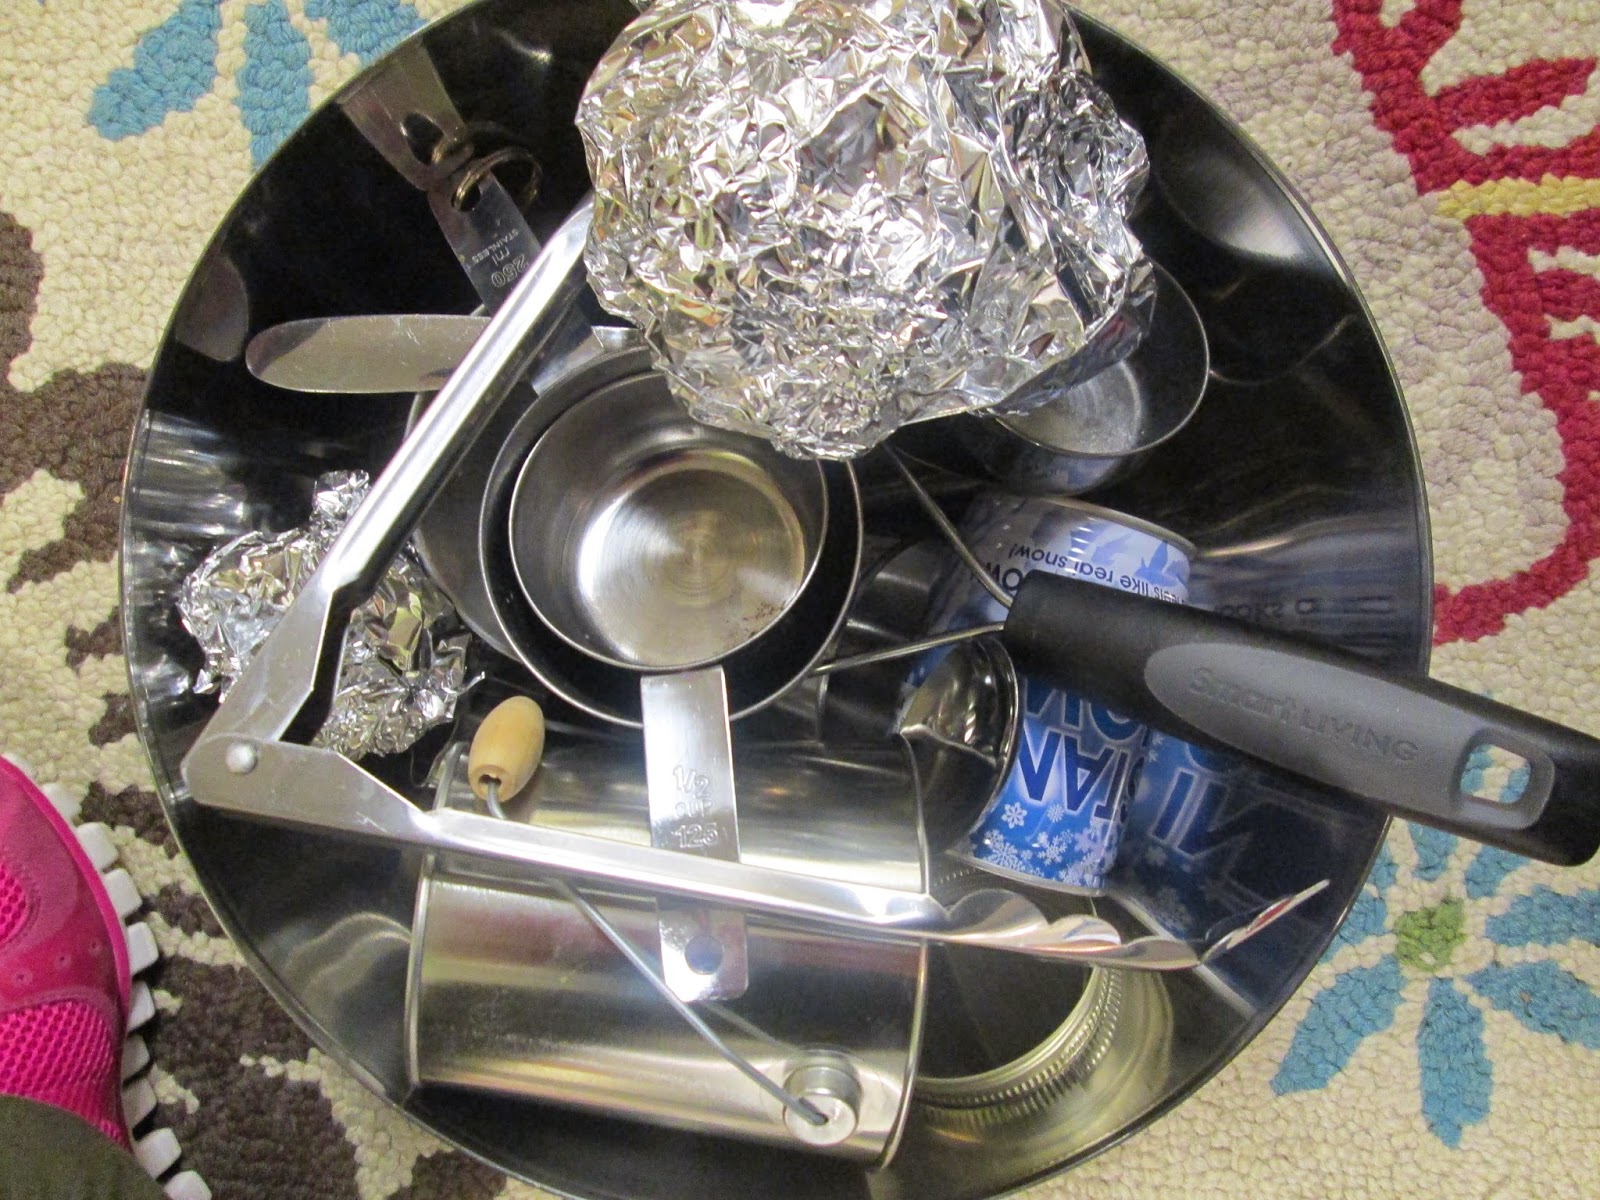
metal objects

colored instant mashed potatoes

giant texture board made with carpet samples, paint samples, fabrics, and textured papers

paint and sponges on the light table


Tuesday, September 16, 2014

Hair Gel Painting

We had fun with this project.  The Pre-K children added color to hair gel to create colorful, clear, wonderful smelling paint. 
We also added glitter and sequins to add texture and dimension to our paint.  When it dries, the paint evaporates a bit and is lighter than when it went on but makes some really cool effects.  

Sunday, August 10, 2014

Claude Monet

Claude Monet has always been one of my favorite artists.  
For this lesson, the Pre-K children added liquid watercolor and glue to a large piece of paper.  We added tissue paper to create our own impressionist painting. 

Friday, May 30, 2014

Photography

I have been wanting to do this multi-week lesson forever and the spring is the perfect time. I asked families to bring in digital cameras for the Pre-K children to use.  I wanted them to use real cameras as many of them had never used them before. We got a few.  With those, we talked about photography. 
During this lesson, we tried light painting.  I wish we could have spent more time on this.  They loved it! I learned a lot from this lesson, too.  We eventually got some great photographs. 


We also tried photographing still life.  We found items around the classroom, arranged them on a table, and took pictures from a distance and close up.  

In this lesson, we explored photographing nature.  We took landscapes and close ups.  We have a beautiful campus around the center with lots of photo opportunities.

In addition, we also did photo booth photography however I didn't post any pictures because their faces were in them.  Basically, I got some photo booth props-glasses, mustaches, bow ties, frames, hats, etc and the children took pictures of each other.  They were able to choose their models and photograph them using the props.  It was so much fun!

We made photo albums with all of their work so they could take it home as an end of year gift. 

Monday, May 26, 2014

Object Rubbings using Chalk Pastels

Chalk Pastels is one of those materials that we rarely use in the art studio.  I don't know why and I definitely should bring them out more often because the kids love them. 
For this lesson, I taped these metal grid samples to the table and covered them with butcher paper.  Some had very small grids while others were large and the pattern on each is different. Running the pastels over the paper left cool grid patterns. 

For this lesson, I put a bunch of objects I found in the art studio that were flat-crafts sticks, stencils, shape buttons, doilies, Lego boards, etc. The children enjoyed discovering what was on the table by rubbing the pastels against the whole surface. 

It's always fun to let them guess what is under the paper and at the very end, we lift up the paper for the big reveal.  We discuss what we found and what we didn't find and why